DIY Energy Gels: Homemade Recipes for Convenient Fueling
So, you’re tired of spending money on expensive energy gels that may not even meet your nutritional needs? Well, it’s time to take matters into your own hands and make your own DIY energy gels!
In this article, we’ll show you the benefits of homemade fueling options and provide you with simple recipes using essential ingredients. With our tips for proper storage and portability, as well as customization options, you’ll have convenient and personalized fueling at your fingertips.
Get ready to power up with these homemade energy gel recipes!
Benefits of Homemade Energy Gels

One of the benefits of homemade energy gels is that they can be customized to meet your individual nutritional needs. When it comes to fueling during intense physical activities, having control over what goes into your body is essential. Homemade energy gels allow you to tailor the ingredients and ratios according to your specific requirements.
One advantage of homemade fueling options is their cost effectiveness compared to store-bought alternatives. Commercial energy gels can be quite expensive, especially if you are training or participating in endurance events regularly. By making your own energy gels, you have the opportunity to save money while still getting the necessary nutrients for optimal performance.
Additionally, when preparing homemade energy gels, you have full control over the quality of ingredients used. Many store-bought options contain artificial additives, preservatives, and excessive amounts of sugar that may not align with your dietary preferences or health goals. With DIY energy gels, you can select natural and wholesome ingredients that provide sustained energy without compromising on taste.
Furthermore, by making your own energy gels at home, you can experiment with different flavors and textures according to personal preference. This allows for a more enjoyable fueling experience during workouts or races.
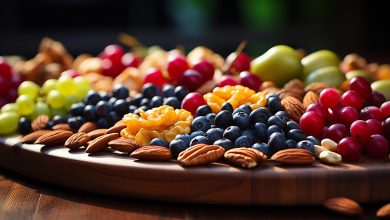
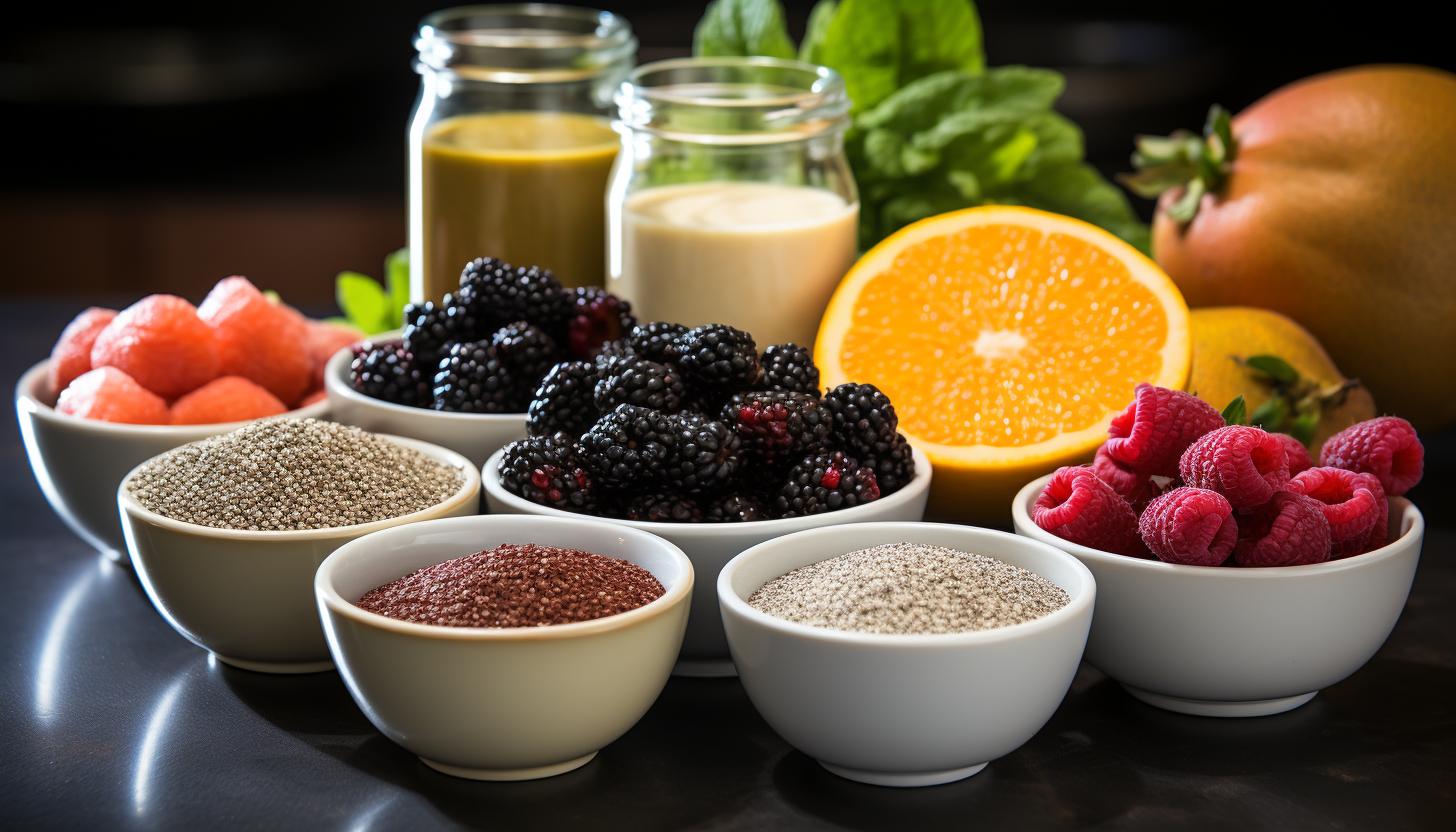
Essential Ingredients for DIY Energy Gels
To make your own energy gels, you’ll need a few key ingredients. Here’s a list of essential components to consider:
1. Alternative Sweeteners: Instead of using refined sugars, opt for natural sweeteners like honey or maple syrup. These alternatives provide quick energy without causing drastic blood sugar spikes.
2. Natural Flavors: Enhance the taste of your homemade energy gels with natural flavors such as fruit purees or extracts. Not only do they add a pleasant taste, but they also offer additional nutrients and antioxidants.
3. Electrolytes: To replenish the electrolytes lost during intense physical activities, include ingredients like sea salt or coconut water in your recipe. These minerals help maintain proper hydration levels and prevent muscle cramps.
4. Thickening Agent: Use a thickening agent like chia seeds or agar powder to give your gel the desired consistency. These additives also provide an extra dose of fiber and omega-3 fatty acids.
By incorporating these key ingredients into your homemade energy gels, you can create a nutritious and convenient fueling option for your workouts or outdoor adventures.
Now that you know the essential components needed for DIY energy gels, let’s explore some simple and quick homemade energy gel recipes that you can try at home!
Simple and Quick Homemade Energy Gel Recipes
Now that you have the essential ingredients, let’s dive into some simple and quick recipes for making your own energy gels at home!
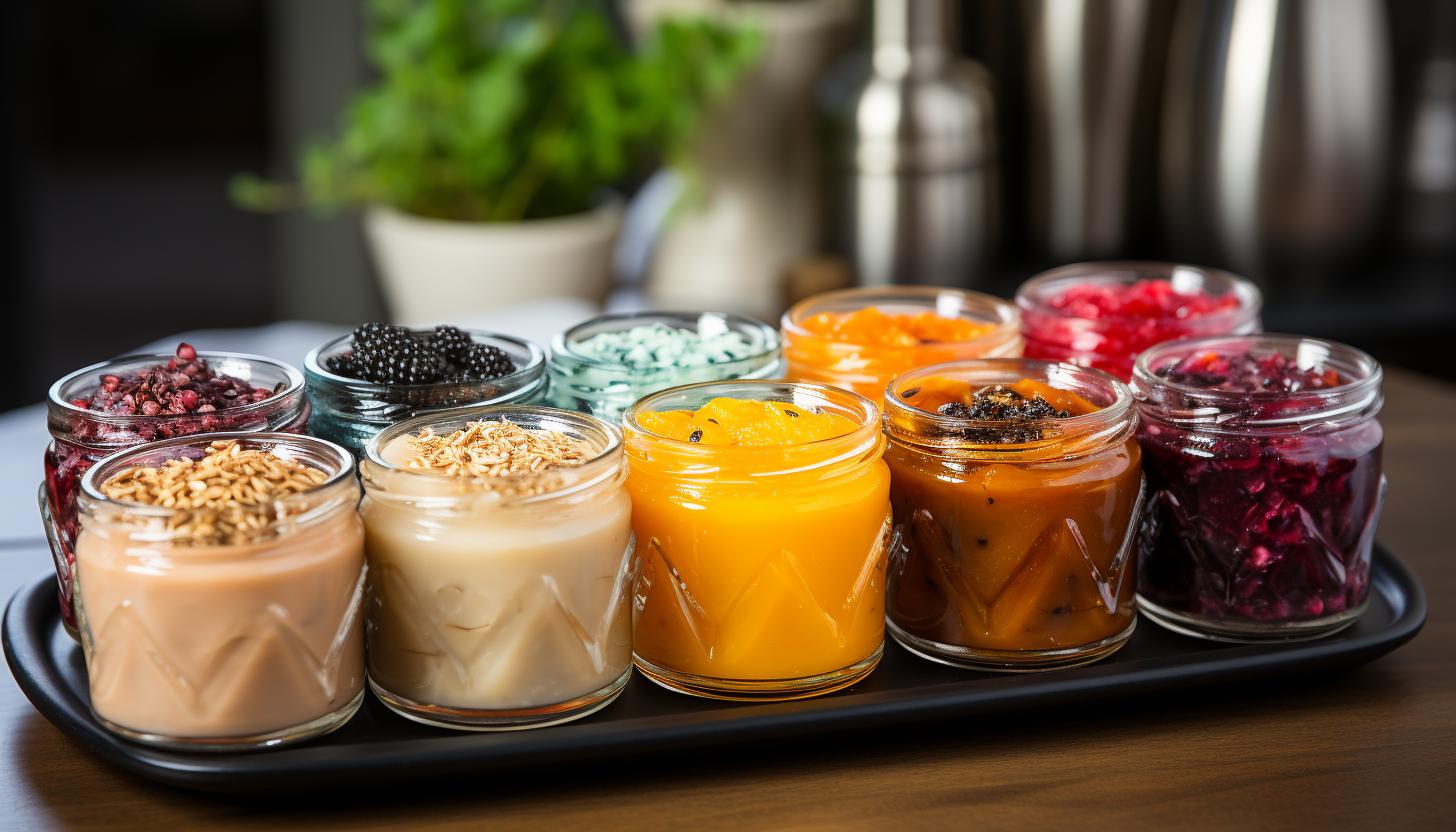
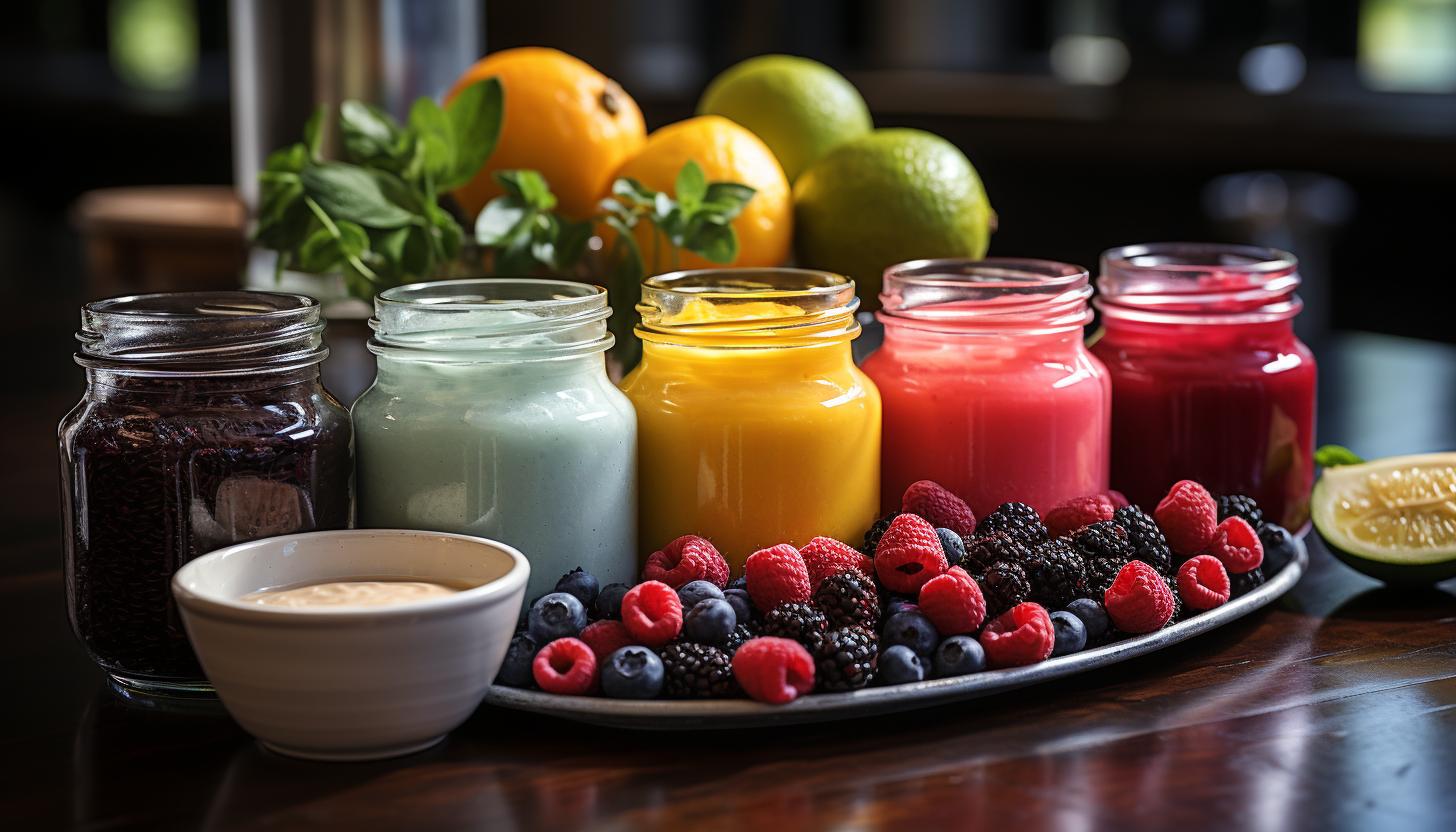
When it comes to flavored options for homemade energy gels, the possibilities are endless. One popular choice is using fruit purees such as bananas or berries. Simply blend the fruits until smooth and mix them with a combination of honey or maple syrup and salt for added electrolytes.
Another flavorful option is using natural extracts like vanilla or almond to enhance the taste of your gel.
For those following a vegan diet, there are plenty of DIY energy gel alternatives available. One easy recipe involves combining dates, water, and chia seeds in a blender until it forms a thick paste-like consistency. Chia seeds are an excellent source of omega-3 fatty acids and provide sustained energy release during exercise.
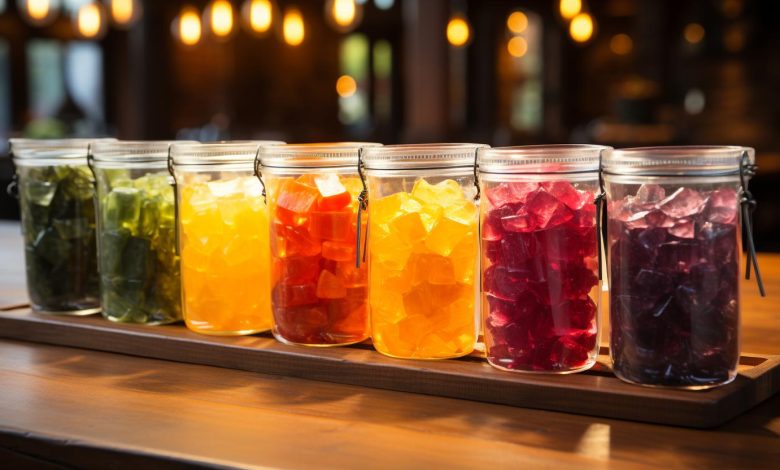
To make these homemade energy gels even more convenient, you can store them in small reusable squeeze pouches or portable containers for on-the-go fueling during workouts or races. Remember to label each container with its flavor and date made to ensure freshness.
Tips for Proper Storage and Portability of DIY Energy Gels
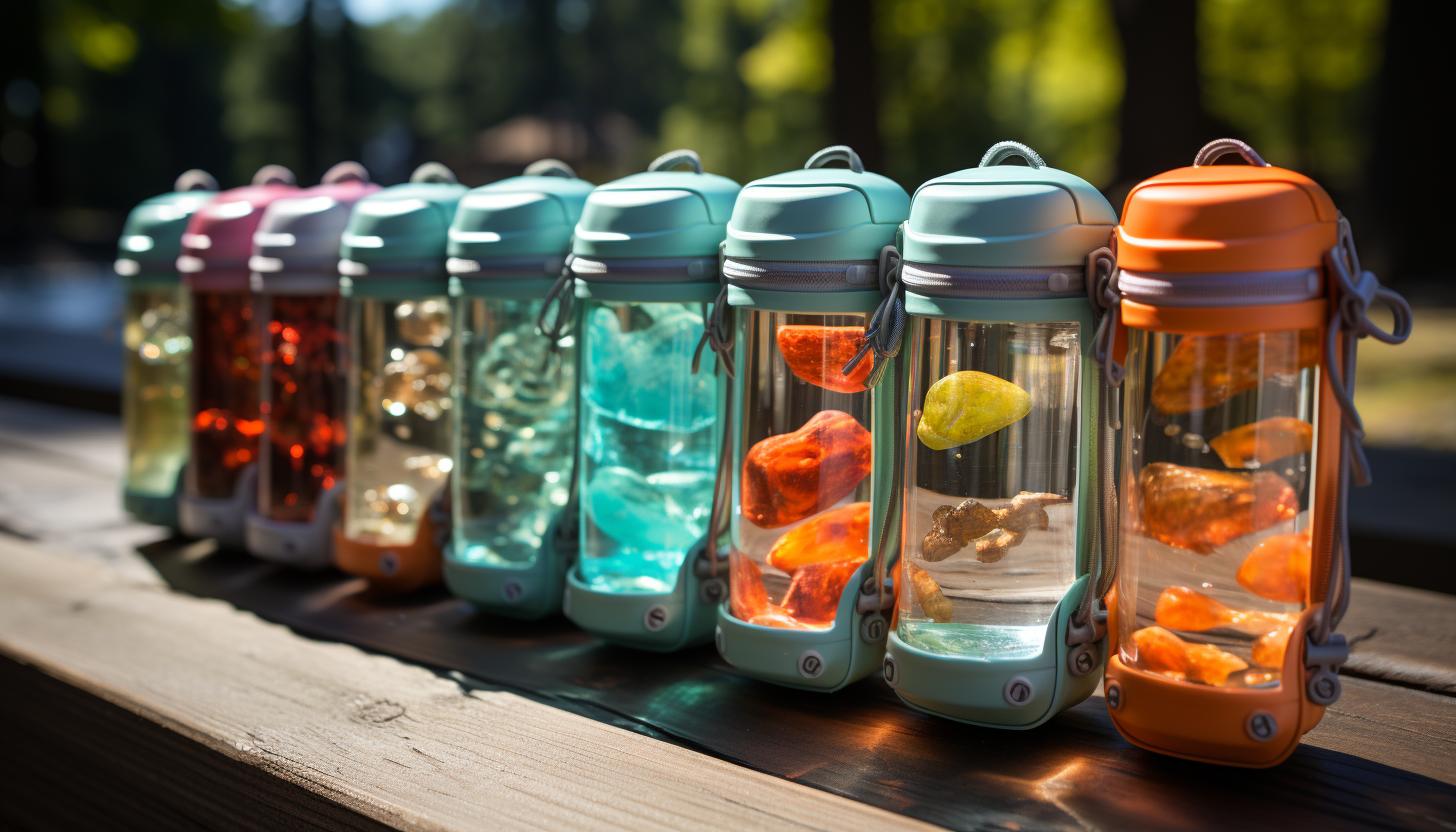
When storing and transporting your homemade energy gels, it’s important to use small, reusable containers that are labeled with the flavor and date of creation. Proper storage ensures that your DIY energy gels stay fresh and maintain their nutritional value for longer periods.
Here are some tips for proper storage and on-the-go options:
1. Refrigerate or Freeze: If you’re not planning to use your energy gels immediately, refrigerating or freezing them can help extend their shelf life. Freezing is particularly useful if you’ve made a large batch.
2. Portion Control: Divide your energy gel mixture into individual servings before storing them in containers. This makes it easier to grab one quickly when you’re on the go.
3. Seal Tightly: Ensure that the lids of your containers are tightly sealed to prevent any leakage or contamination during transportation.
4. Choose Appropriate Containers: Opt for small, portable containers that fit easily in your bag or pocket. Look for leak-proof options such as silicone pouches or small jars with secure lids.
Customizing DIY Energy Gels to Meet Your Nutritional Needs
By customizing your DIY gels, you can tailor them to meet your specific nutritional requirements. Not only do homemade energy gels offer a cost-effective alternative to store-bought options, but they also provide you with the freedom to choose the ingredients that best suit your needs.
One key advantage of making your own gels is the ability to customize the flavor profile. By experimenting with different combinations of fruits, sweeteners, and spices, you can create a gel that not only provides essential nutrients but also tastes great.
In addition to customization in terms of taste, DIY energy gels allow for alternative options when it comes to fueling during exercise. While traditional gels often rely on simple sugars for quick energy, you have the opportunity to explore other sources such as natural sweeteners like maple syrup or honey or even complex carbohydrates like mashed sweet potatoes or oats.
Ultimately, customizing your DIY energy gels empowers you to take control of your nutrition and optimize fueling strategies for better performance. It’s important to remember that while customization is key, it’s essential to consult with a sports nutritionist or dietitian if you have specific dietary needs or concerns.
With some experimentation and guidance from professionals, you’ll be able to create personalized energy gels that fuel both body and mind during workouts and competitions.
Conclusion
In conclusion, making your own energy gels can offer numerous benefits. By using simple recipes and essential ingredients, you can create a convenient and cost-effective fueling option that is tailored to your specific nutritional needs.
While some may argue that purchasing pre-made gels is more convenient, homemade energy gels can be easily stored and transported with proper planning. Plus, they allow for customization and control over the ingredients used.
So why not give DIY energy gels a try and experience the practicality of homemade fueling?